Printers have always been flakey a major pain to deal with. I just spent the past hour setting up this Samsung laser printer that I bought back in 2011, but have seldom ever used. Now that I went through this pain, I want to help others and myself in the future, should I ever need to do this again.
The good thing about laser printers, and why I will never ever spend money on an inkjet printer again, is that the ink will never dry out. This printer is still on the original ink cartridges that it shipped with. My wife wanted a printer in her room, so I thought I would give her this printer, since I have been using my Brother black and white laser printer for the past 14 years. I've very rarely ever had to print anything in color. This printer had been sitting in her office for more than half a year now. Aside from me setting it up on my Windows laptop to make sure it still worked, it hasn't been touched. Now, then, with a brief background and context out of the way, let's get started.
What you need:
-
USB cable (Type A to B)
-
Computer with internet connection
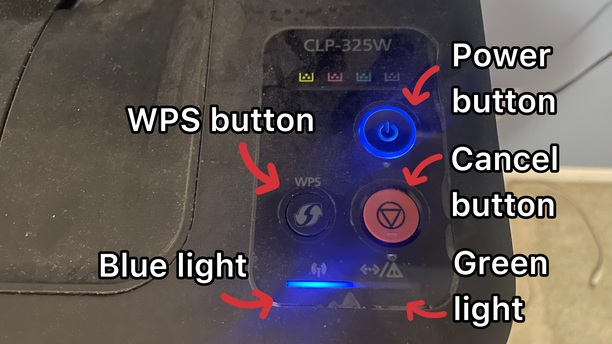
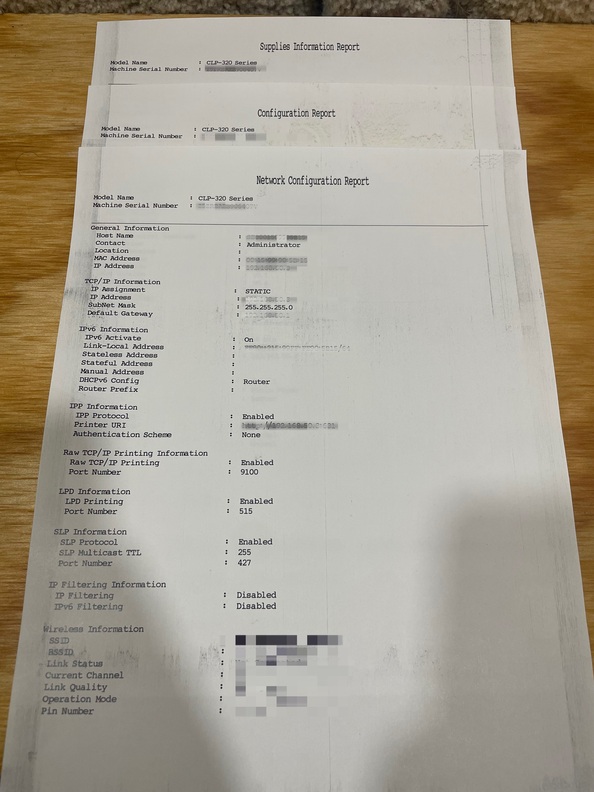
Before starting, turn the printer on, put some paper into the tray, and hold down the red Cancel button for 30 seconds. This will print out three sheets of paper:
-
Configuration Report
-
Supplies Information Report
-
Network Configuration Report
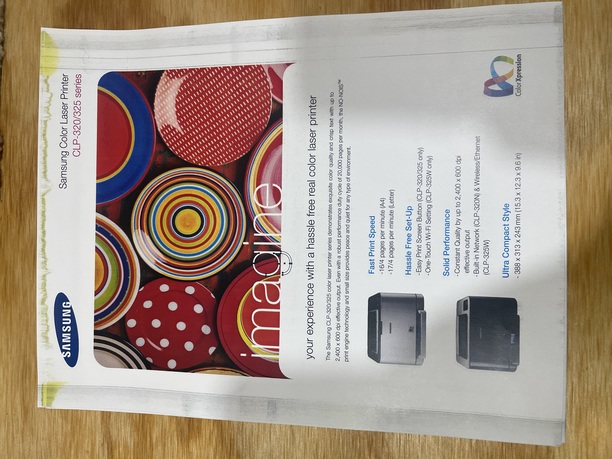
If instead of getting these three printouts, you get one page with fancy graphics and marketing information, then try again, but hold down the Cancel button for longer.
Hang onto the Network Configuration Report, as it contains the following important information:
-
MAC Address
-
IP Address
-
SubNet Mask
-
Default Gateway
-
LPD Information
-
Wireless Information
-
Pin Number
-
Windows 10 Instructions
The printer is easier to set up on Windows, as the software from 2011 still runs. You need two pieces of software: the drivers to be able to print at the printer-supported resolutions and the SetIP software to configure the network settings. Both can be found here.
-
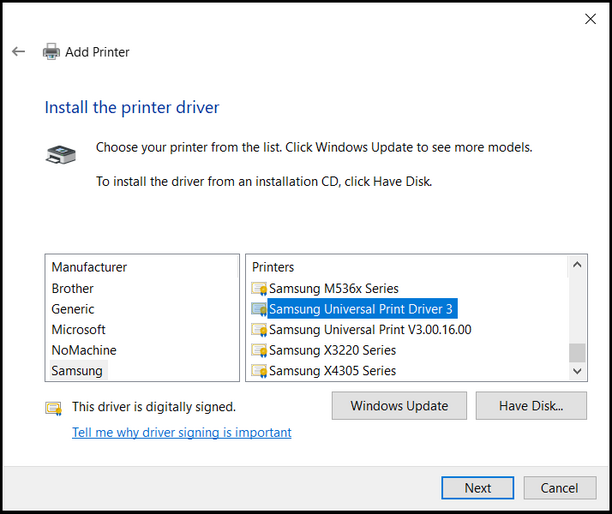
Install the printer drivers and SetIP
-
Plug the USB cable into the computer and printer.
-
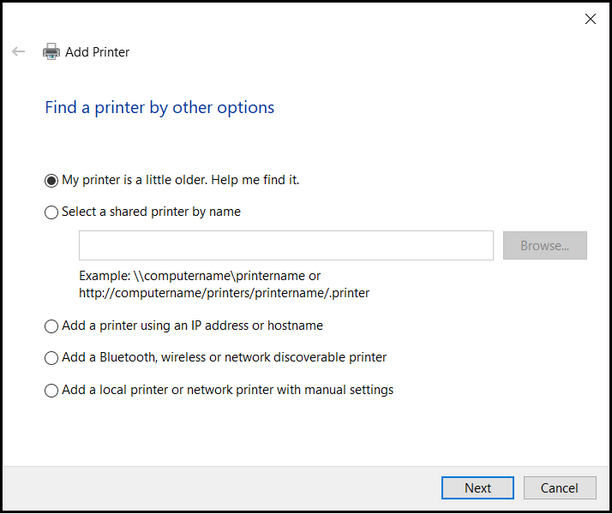
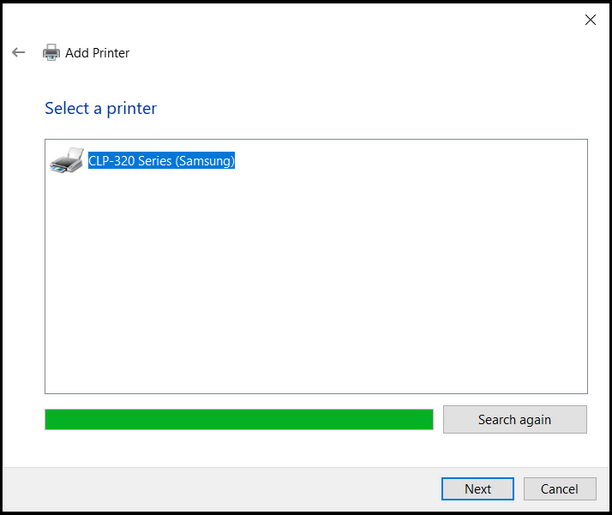
Open the Control Panel and add the USB printer. It should be detected automatically.
-
Print something out to verify that the printer is working
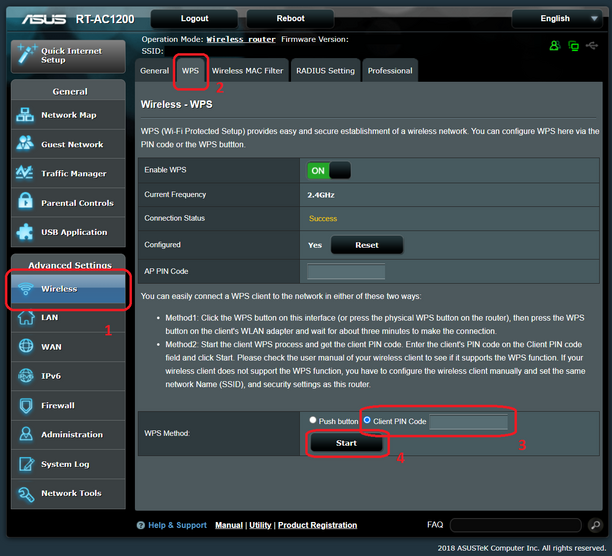
To connect the printer wirelessly, you need to log into the router.
-
Click on the Wireless item in the Left Side Navigation Menu
-
Click on the WPS tab
-
Under WPS Method, Select Client PIN Code
-
Use the Pin Number in the Network Configuration Report
-
-
On the printer, hold down the WPS button for 5+ seconds, until the blue light under it starts to flash slowly
-
If the blue button is not lit, hold down the WPS button for 5+ seconds again, a little longer than last time
-
-
In the browser window, click Start
What you should see:
-
In the browser window, the Connection Status should go from Starting WPS Process to Sending M2 to Success
-
On the printer, the blue light should go from flashing slowly, to flashing quickly, to turning off, and then turning on and staying on
By default, the printer is set to use something like 192.168.1.x for the IP. On my network, I have all the IPs differently (e.g. 192.168.4.x), so I couldn't access the printer. I needed to use SetIP to fix this:
-
Open up SetIP
-
If it automatically detects the printer, then that is best. You can then make tweaks to the network settings for the printer by selecting the printer from the list
-
If the printer is not automatically detected, click Manual Setting, and set the settings to the following values:
-
Mac Address: the MAC Address from the Network Configuration Report
-
IP Address: an IP address that is not currently taken on the network (e.g. 192.168.4.199).
-
Subnet Mask: this should also be something found in the router settings (typically 255.255.255.0)
-
Default Gateway: this is the address for your router (e.g. 192.168.4.1)
-
-
If the printer does not show up in the router's client list, then reboot the router
Now, I setup the printer on my computer:
Mac OSX 12.3 Instructions
The latest drivers for this printer on the Mac is for OSX 10.14 or so. In order to install the drivers on OSX 12.3, you will need Pacifist.
-
Download Pacifist from https://www.charlessoft.com/ (this is shareware)
-
Open the Samsung Printer Drivers so that it is mounted
-
If you try to open the SamsungPrinterDrivers.pkg directly, it will error out with a message to the effect that the package does not meet the requirements
-
-
Open Pacifist
-
Select Open Package
-
Navigate to the SamsungPrinterDrivers.pkg file inside of the Samsung Printer Drivers mount location
-
On the top toolbar of Pacifist, select Install
-
Follow the prompts to install the printer drivers
-
Plug the USB cable into the computer and printer.
-
Under System Preferences, select Printers and Scanners, and use the plus button to add a new USB printer. It should be detected automatically.
-
Print something to check that the printer is working.
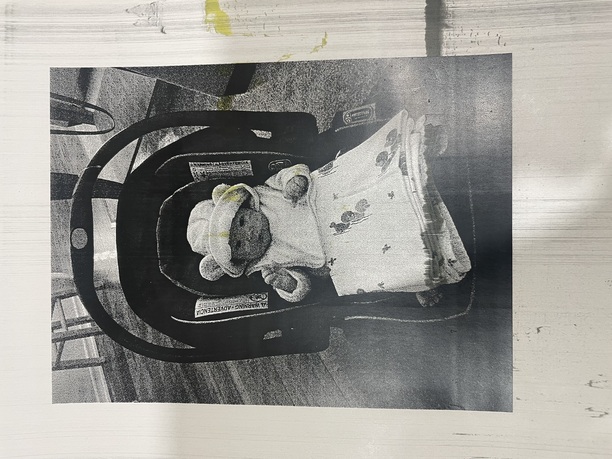
If you don't install the drivers and use the default drivers, you get low-resolution black and white printouts, like this.
To connect the printer wirelessly, it is more tricky. If you need to configure the printer's network settings, then you need a Windows computer to install SetIP and set the network settings for the printer. See the instructions above for that.
Once the printer is configured and connected to the network, I setup the printer:
-
Under System Preferences, select Printers and Scanners, and use the plus button to add a new printer. Of the three icons at the top, I select the middle one that looks like an abstract globe.
-
Enter the IP address for the printer
-
Select Line Printer Daemon - LPD
-
If you select Internet Printing Protocol - IPP, when you print something, the printer will pause, and nothing will be printed. See here for the reason.
-
-
The Use field should automatically be populated with the Samsung CLP-320 Series driver
-
Finish the rest of the setup
-
Print a page
