I've been busy for the last two months. In fact, I've been so busy that I've not had time to update my blog. However, I really want to, because there's lots of things that have been going on in the past two months worth remembering. Therefore, I've decided to partition things into topics which I'll tackle individually, as time allows.
About two months ago, my mom decided she was going to go back to Taiwan for about a month. Due to that, I decided to try to make real ramen. Very logical conclusion, right? Right. I suppose, being sick of being labelled as someone who doesn't cook, I wanted to learn to make something that I would personally like to eat. What better opportunity than when necessity demand I sustain myself. Of course, I knew how to make a mean instant ramen. However, the notion of eating that frequently for a month did not appeal to my considerations of long-term health. Thus, I ventured out to make some real, genuine, good, MSG-free, preservative-free, traditional Tonkatsu ramen.
As it turns out, I was not alone in this quest. Others have gone before me. All I had to do was find their instructions on the internet, and follow them. I found one set of pretty good instructions on seriouseats.com. The following would be my personal insights, when following these instructions, as well as some localized information - such as where you would find the ingredients for making the ramen if you lived in the Dallas/Fort Worth area.
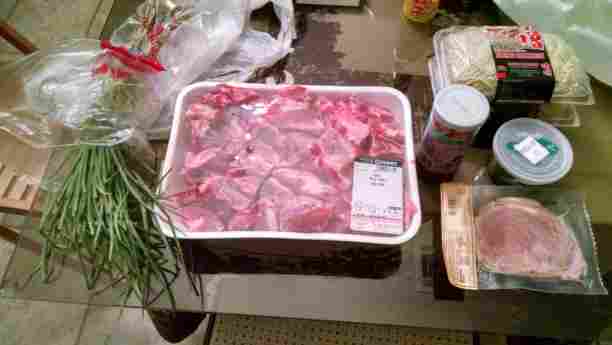
First, I bought the ingredients:
What you need are pork bones (I used the neck bones, which happened to be the cheapest at the time, at H-Mart), special ramen noodles, pickled ginger (the red stuff in the jar), slices of pork (I bought some pre-cooked, pre-smoked pork), seaweed, and green onions. I think it ended up costing something like $40 bucks for something like 8 bowls of ramen.
As you can see, I got a lot of bones. I divided them into thirds, and put two-thirds into plastic bags into the freezer for later use, and put one-third of the bones into a pot (about 10 pieces). That's plenty.
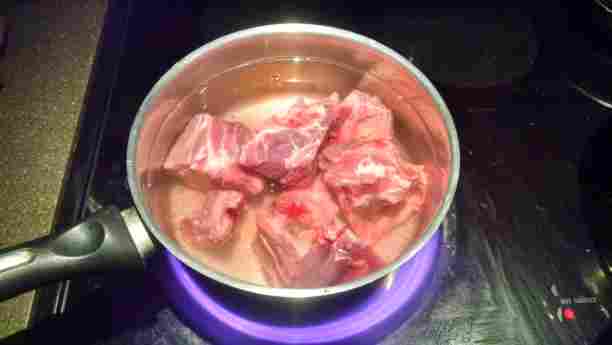
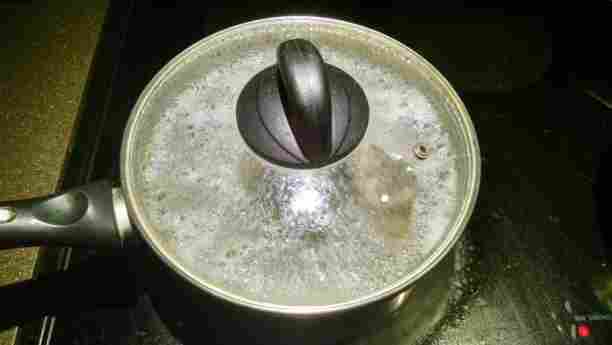
First step is to boil the bones:
At this stage, you can use whatever water you want, because it will get poured out. As soon as the water starts boiling, turn off the heat and pour the water out into the sink. Be sure to get rid of any of the brown stuff floating around. For extra measure, also get rid of the brown stuff clinging onto the bones. The brown stuff is blood and marrow, which if boiling in the broth, will make the entire broth yellowish. After you've done all that, fill the pot with good, broth-worthy water and now we're ready to go:
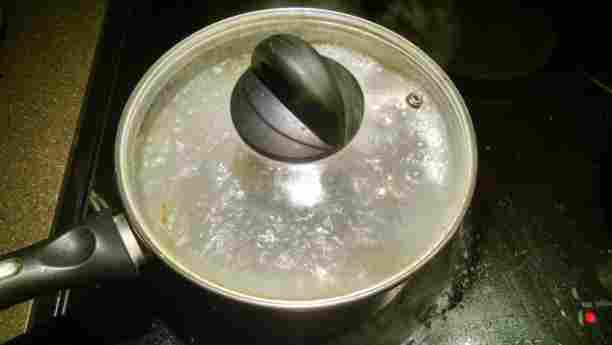
Now, we start boiling. Turn on the heat so that the broth stays in a rolling boil. That means the heat is higher than just simmering, but low enough that the broth does not boil over, wasting the precious juices and making a mess simultaneously. This part is very important to get right.
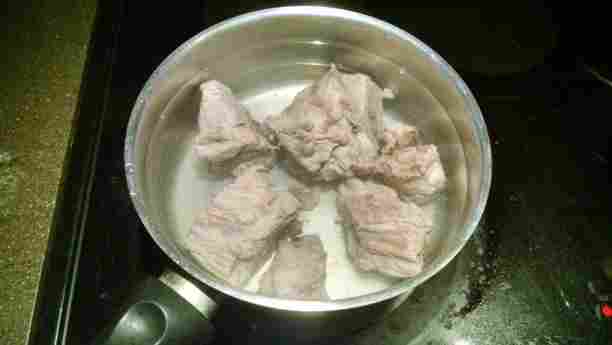
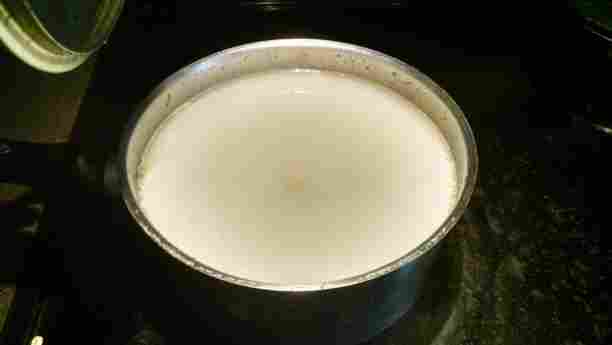
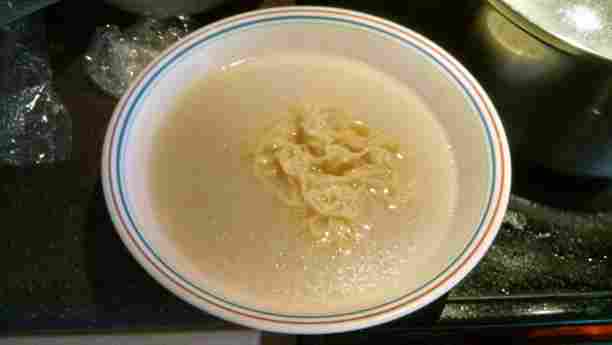
Refill the water in the pot periodically, as the heat is constantly evaporating water. Keep this up for at least 12 hours (I did it for 18 hours). This step takes more patience than skill. What is happening is that the essence of the bones is getting boiled out of it and into the soup. This includes the collagen, oil, proteins, etc. What is amazing is that once it all comes out, it becomes a homogeneous mixture:
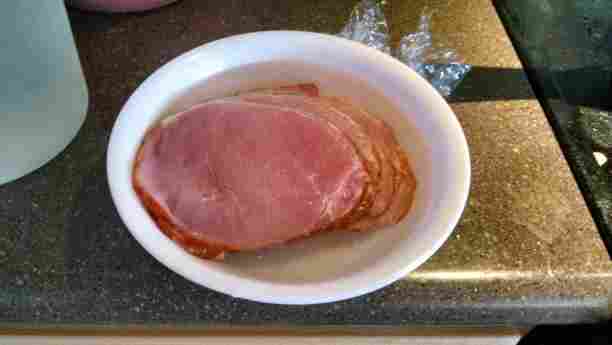
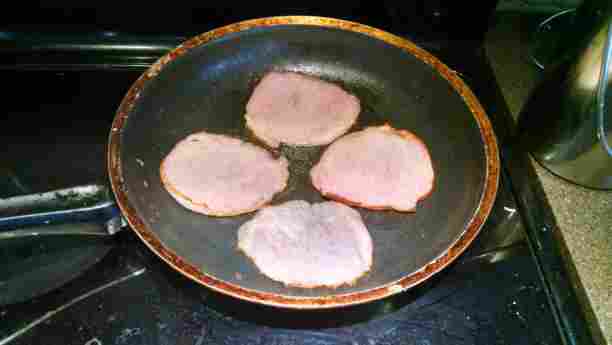
Notice the thin layer of oil floating on top. People say that that is a sign of good broth. See how good the broth looks without any MSG, preservative, oil, fancy lighting, etc? Ok, once you've finished being amazed at how rewarding being patient can be, move on to the other things. These next parts can be done in any order. I'd recommend doing the meat first, then egg, then condiments, and finally noodles, because the noodles have a small window of when they taste the best and have the best texture. For the meat, do whatever you want. I don't know how to do good chashu meat. I just put the frozen meat into water (to defrost them), which was a mistake, then I pan fried them with sesame oil (while the pan frying was good, the choice of sesame oil was a mistake):
I sprinkled some salt onto the pork as I fried them, and put sesame oil on them to restore their tenderness.
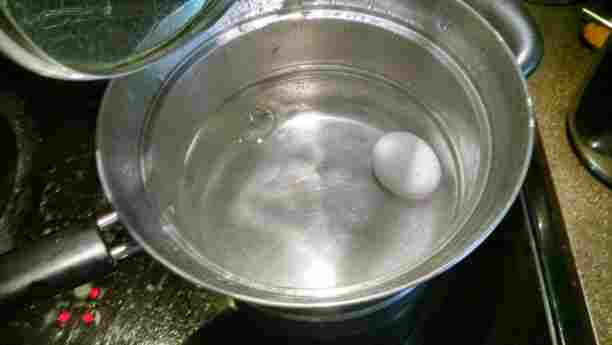
Next, the egg. According to the instructions, to get a soft-boiled egg where the yolk is still liquid, but the white is solid, boil the egg in water for 5-6 minutes. That's exactly what I did. I then put the egg into cold water - a trick which sometimes works in making it easier to peel. Then, I peeled it and cut it in half. This part is tricky. I don't have pictures of this step, because I didn't have a third hand to take pictures as I cut the egg and kept the yolk from spilling out.
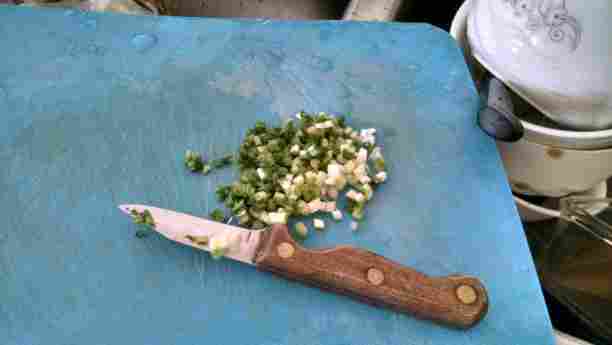
At this point, you can prepare any garnish you want. For me, I have red pickled ginger, which are ready to go in the jar, seaweed, which is also ready to go, and green onion. The only thing I needed to do was wash a stick of green onion, peel some outer layers off (because they've got dirt in them), cut the root off, and chop the rest up. Slice and dice em until they're nice and small, but not too small (they still need some texture):
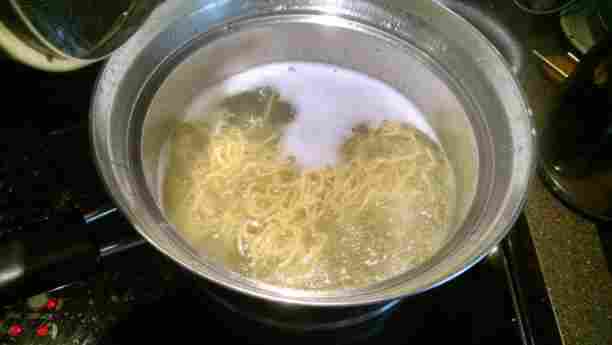
Now, the noodles are arguably the most important ingredient in Tonkatsu Ramen. Noodles give the bowl a distinct texture, which can either make the entire thing more appetizing and appealing, or make the entire thing hard to eat. The trick is to boil the noodles for a few minutes, and to take them out as soon as they are cooked. Leaving them in the pot boiling for too long will cause them to lose their chewiness and become bloated and soggy. This is hard to nail down, but luckily for me, I had experience with instant ramen, so this step wasn't too challenging.
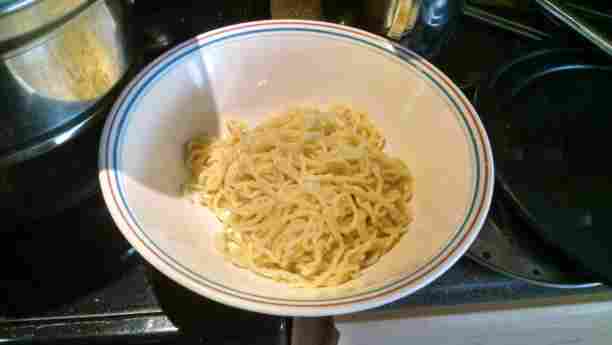
Now, we construct the dish. From the point when you start cooking the noodles until the time you (or whoever the bowl is intended for) eats it, you are on a timer. Time is of the essence here. Take the noodles out with as little water as possible, and put it into the bowl. Then sprinkle some salt onto the noodles to give it some flavor. I like to sprinkle some salt, and then mix the noodles around, and sprinkle some more. That way the salt is in all the noodles. At this point, you may choose to over salt the noodles, or to salt the broth. I salt the noodles with more salt, and the broth with less salt. Personal preference. Just be careful to not put too much salt. How much is too much? You'll know when you eat it and don't feel like eating more.
Pour the broth in. Season accordingly. I just use salt (if needed).
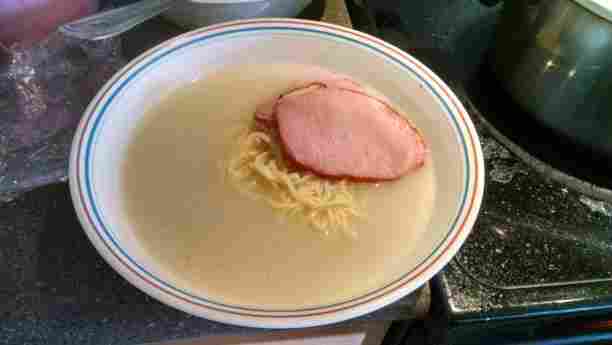
Add the Chashu pork on top. Hopefully your pork looks (or tastes) better than mine.
Add the green onions.
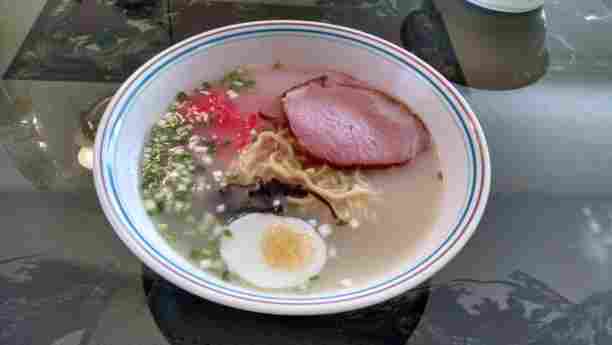
Add the rest of the garnishes. The end result should look pretty amazing:
Yup.
For reference, here is a bowl of ramen you find at Yamasushi (what I modeled mine after):
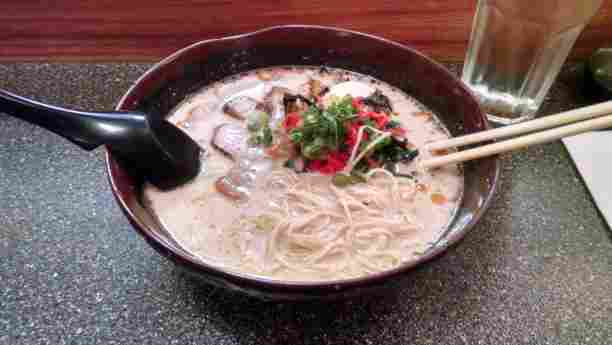
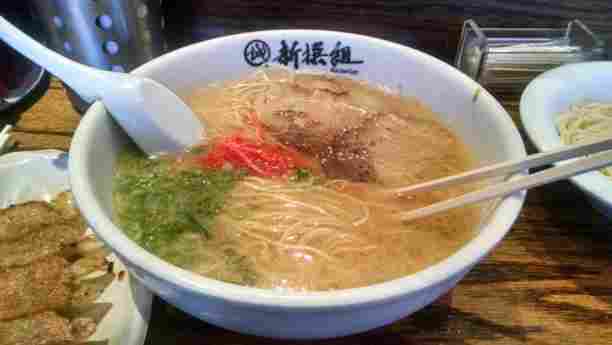
For comparison, here's a bowl of Shinsengumi Tonkatsu Ramen (in L.A.):
There were quite a few lessons I learned while making ramen.
-
Don't take shortcuts. Everyone wants to avoid unnecessary work, but sometimes you get the best results by doing things the way they are supposed to be done. When I told my parents how long I wanted to boil the bones for, they told me I only needed to do so for four hours. Afterwards, they did that using a pressure cooker, and the broth they produced was vastly different than what I ended up with.
- You don't need to put unhealthy stuff in to make something look or taste good. At least speaking for the broth and noodles, the ingredients were very basic - bones, flour, egg, salt, water. The results both looked and tasted great. What it does require, though, are skills where they matter - being attentive to the details that matter. Maybe when skills are lacking, then some extra ingredients are needed - in this case, I added sesame oil to the meat when I screwed them up.
- Life is not a linear, time-invariant system. What that means is that sometimes the timing is crucial. The window of opportunity comes and goes, and you need to know when you are in it, and to grasp it. This was true with the noodles and green onion. The effect of having them in the broth for too long can make or break the entire experience.
- Scale matters for different things. For the broth, making enough broth for one person took roughly the same amount of work as making enough broth for three people. However, for the noodles and eggs, it was different. Each bowl required the same amount of attention.
Anyways, if I think harder, I could probably think of more things I learned. For now, though, this will suffice. I was pretty happy with this, as were my parents. I did this at the beginning of February. It was a lot of work, but it was worth it.
Written on March 22, 2015
